
Review of the HI-FLY RC Sailboat Model
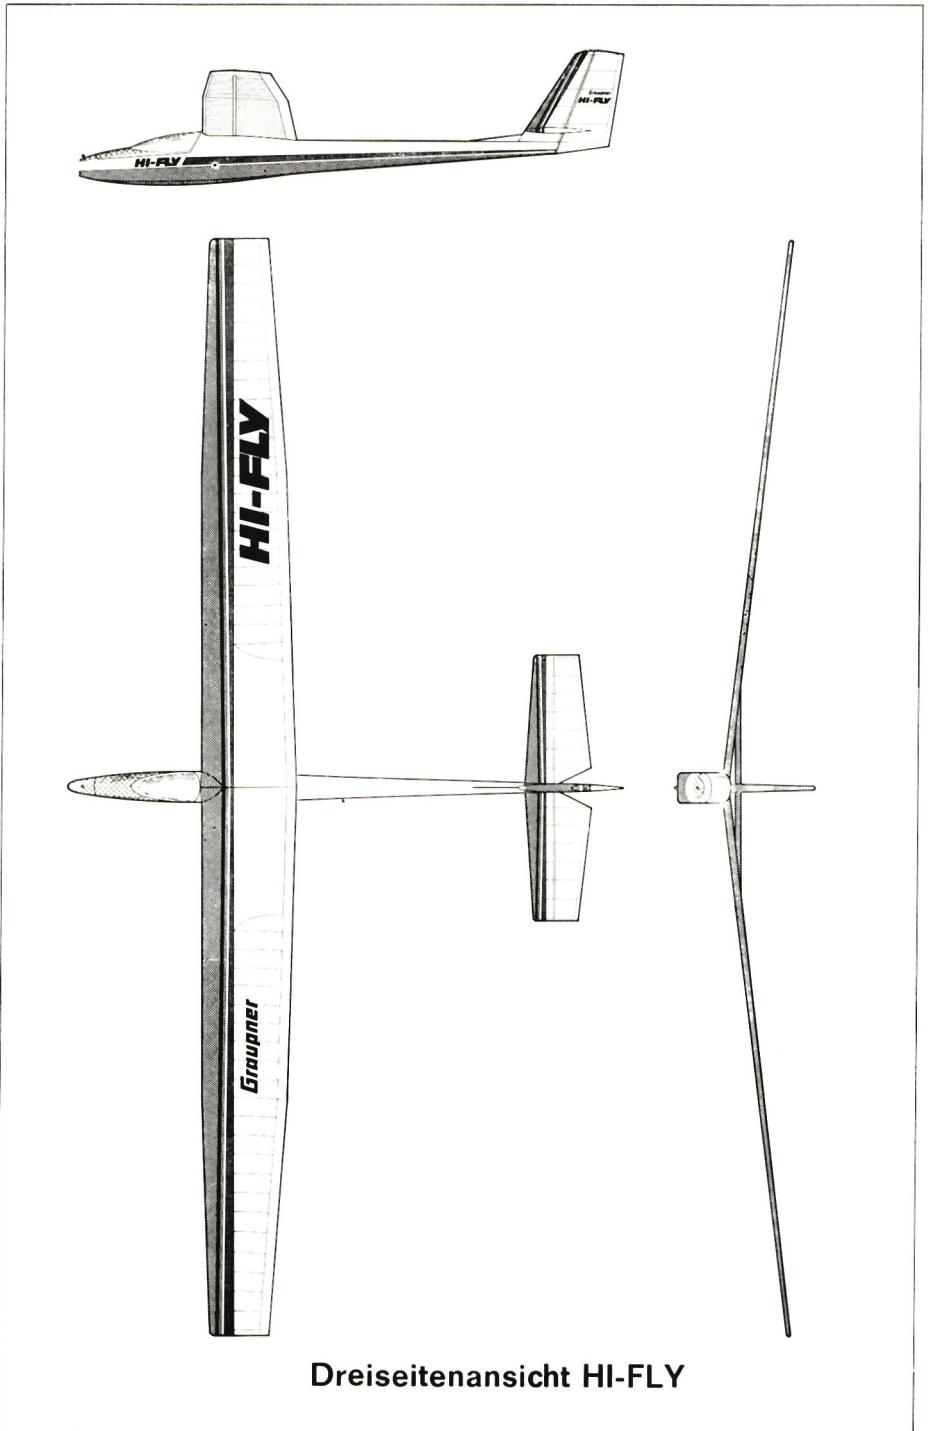
Applications: The HI-FLY RC sailboat model can be used in the following configurations:
- As a high-launch glider, it reaches optimal altitudes—especially during rubber-band launches—thanks to its light weight of just 980 grams.
- As a slope-launch glider. Here, it is recommended for headwinds of 6 m/sec or higher. Add lead to the center of gravity in the fuselage, 100–300 grams.
- As a motor glider with two different 0.8 ccm COX engines for slower and faster climbs.
- As an electric model, which offers many advantages today, such as the ability to turn the motors on and off independently during flight.
In addition, you have the option of configuring the wings with a standard V-shape or with winglets.
The model is constructed using conventional balsa wood building techniques. All parts are neatly cut out.
The fuselage, which has a box-shaped profile and is also made from pre-cut balsa wood strips, can be easily assembled using the included templates. It’s important to apply the glue thoroughly to the joints. I recommend using Uhu-Colle for these joints. This glue is not included in the kit. This glue gives you more time to align and secure large glued areas with pins. It also creates a more flexible bond than Uhu Hard. It’s important to have a level surface when building the model. Check your table—many people have been surprised to find that it sags by as much as 5 mm.
For beginners, it’s recommended to read through the assembly instructions first. They are described in great detail in four languages (German, French, Italian, English) in the order of assembly.
The wing is assembled on a soft Pavatex sheet measuring 25 x 120 cm. Here, you can now choose to install the parts for either the wing with aphorisms or the straight wing. I particularly recommend that beginners build the model with wings with “ears.” It handles better in turns, though the model is slightly less portable as a result. The skin panels should also be glued with Uhu glue. See the photos for intermediate assembly steps. The brass tubes for attaching the wings must be secured with Araldit before gluing in the upper main spar. The two holes for the centering pins on the connecting ribs (Ø 5 mm) at the wing root must be drilled together before installation. When covering the wing, take special care to ensure that the negative sweep angle at the wing tip is maintained. Details that may seem unimportant to a beginner must be executed precisely. For example, the steel wire is secured to the trailing edge of the wing root section using strips of silk. Otherwise, tears can occur here due to the rubber fastening, which can lead to the wing breaking.
The tail assembly will present some challenges for beginners. Here are a few tips to make it easier. Instead of installing the rudder freely on the fuselage, you can trace its outline onto a small plywood strip and build it there. Glue it to the fuselage before sanding.
For the elevator, it is helpful to cut the shims on the plywood ribs before installation, as this is a cumbersome task once the frame is complete. The balsa ribs with shims serve the purpose adequately. The assembly is clearly visible in the photo.
Covering: The entire model can be covered with either medium-weight covering paper or iron-on film. If you want a particularly lightweight model, use model-building paper. Instead of paint, you can also apply a design made from colored model-building paper. Of course, the model becomes especially sturdy when covered with iron-on film such as Monokote, Ecconokote, Flite Kote, etc., and there’s no need to apply a sealing varnish.
To improve flight characteristics, a light coat of hairspray can be applied over the iron-on film covering (to roughen the surface).
Installing the RC control system presents no particular difficulties. It took me 30 hours to build the model, including the installation of the RC system.
The nose of the fuselage turned out to be too soft. I replaced it with a small block of linden wood measuring 5 x 5 x 5 cm.
During another crash from a height of about 10 m, landing vertically on the ground, the fuselage broke all the way to the leading edge of the wing. I additionally reinforced the interior of the new fuselage with 1 mm plywood up to the center of the wing. Since then, there have been no further fuselage breaks, despite several crashes caused by control malfunctions (external factors). The Varioprop system I use works flawlessly. The batteries only reach their maximum performance after about 4 charge cycles.
Flight characteristics. I chose this model for testing as an RC beginner. For me, it was also my first RC glider—I had absolutely no flying experience. It’s almost impossible to avoid a crash.
My experience showed that, as a beginner, you tend to apply control inputs that are much too strong and last too long. The aileron feels quite sluggish, but reacts all the more abruptly. The elevator responds immediately. It will take a few hours of practice to master the combination of ailerons and elevator. Of course, you’ll be flying with self-centering control sticks. Assigning both functions to the same stick makes steering easier—but you’ll have to try this out for yourself.
In a rubber-line high launch using 30 m of 12 mm² rubber and 90 m of 0.7 mm nylon cord, the lightweight model (980 g) reaches a maximum altitude of 120 meters. With a headwind of about 6 m/sec, the rubber actually tightened further as the altitude increased, and I had trouble releasing the model. Glide times range from 3½ to 4 minutes in calm evening weather without thermal conditions.
For the new RC program with its three tests—speed, distance, and endurance—I, as a beginner, recorded the following data during a training flight:
- Speed: 28 seconds (with 150 g of lead);
- Distance: 750 m;
- Duration: 5'58".
Of course, these measurements are still far below what’s possible.
As mentioned earlier, for a slope-soaring model, it’s advisable to add lead weights depending on wind strength. At a competition, I observed an HI-FLY that didn’t move a single meter forward from a height of 100 m—clearly, it had too little lead.
When used as a motor glider, the model may unintentionally reach a higher altitude due to the more powerful motor and a full fuel tank.
Before every flight, it is important to thoroughly test-fly the model on the ground using hand launches.
W. Heise


News from HEBU

TEAM MANAGER "THIS" BOSSHARD
 Rodito Nussbaumer

YOU KNOW WHAT I MEAN? 125 YEARS OF THE SWISS AERO CLUB
 Emil Giezendanner

F3A EUROPEAN CHAMPIONSHIPS IN ST-MACAIRE, FRANCE
 Matthias Bosshard

HORIZON HOBBY/LEMACO NEWS: MICRO OV-10 BRONCO 645 MM BY E-FLITE

PRIDE AND GOOD IDEAS
 Markus Nussbaumer

EURO CONTEST GLIDER ACRO TOUR AUSTRIA 2026

34th HAHNENMOOS ALPINE MODEL AIRPLANE CAMP
Res Dauwalder
TRY-OUT DAY AT MFV WETTINGEN
Urs Keller
52. 2026 ALPS CUP
Emil Giezendanner
ATOM, THE NEW DOUBLE-DECKER FROM CPLR
Matthias Bosshard
CORSAIR F4U – A WARBIRD WITH A MEMORABLE LOOK
Jürgen Rosenberger, Jürgen Prinz
SUMMER FUN 2026 AT MG USTER
Martin Wunderli
What's New at Leomotion.com

THE PC-21 STORY
Emil Giezendanner
COUPE DES ALPES – OBSERVE AND LEARN
Rodito Nussbaumer
TWIN TOWN PARTNERSHIP
Wolfgang Voeller
BY YOUTH, FOR YOUTH
Lorena Betschen
SMALL, MODEL-LIKE SAILBOATS
Res Dauwalder
WELCOME, NEW MEMBER!
Andrea Bolliger
FREE FLIGHT IN THE MIDDLE OF SUMMER
Urs Muntwyler
INSIGHTS INTO THE HISTORY OF SEAPLANES

NEWS FROM HEBU
 Julia Bucher

FROM 0 TO 100
Markus Nussbaumer
MEMORIES
Wolfgang Völler
NOS REGION – A HUB FOR ELECTRIC AVIATION
Emil Giezendanner
DO YOU KNOW WHAT I MEAN IN THE LAND OF SMILES?
Emil Giezendanner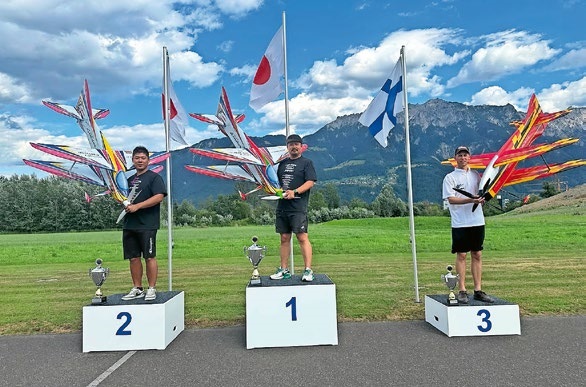
A SPECTACULAR F3A WORLD CUP IN THE PRINCIPALITY OF LIECHTENSTEIN
Emil Giezendanner