
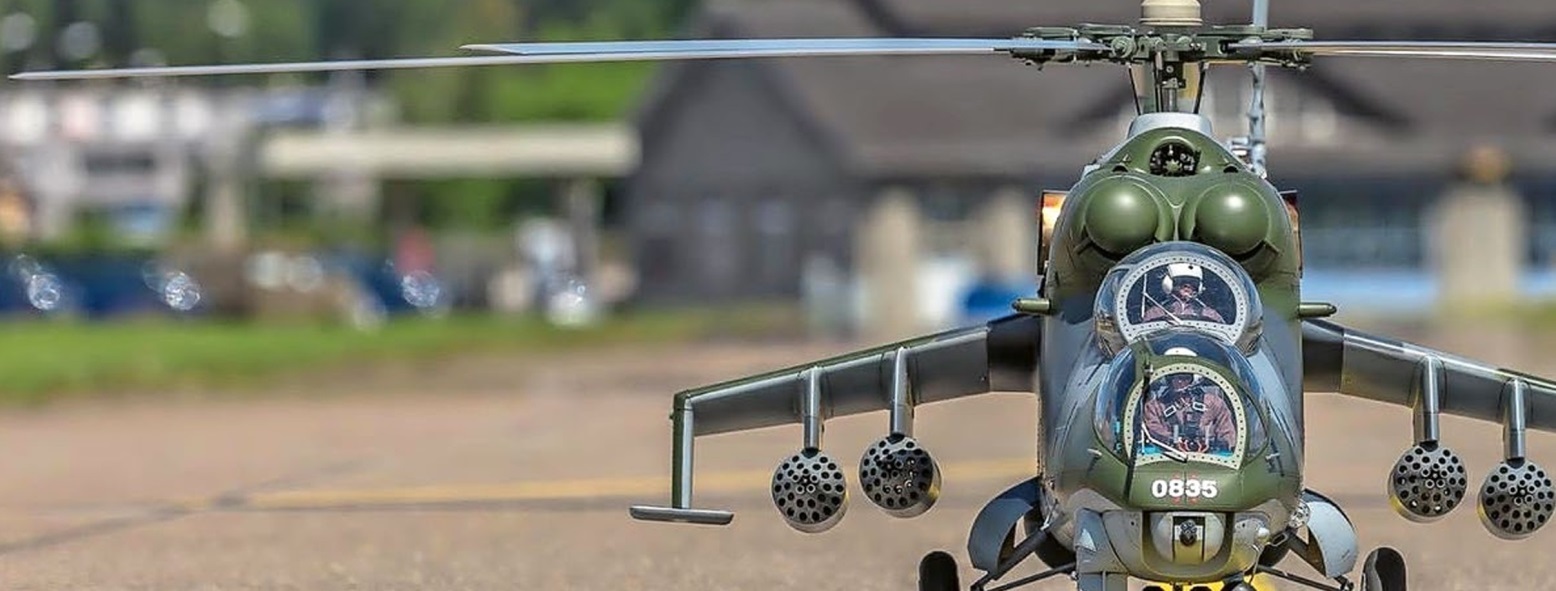
BUILD REPORT: SEMI-SCALE MIL MI24D “HIND” ON A 1:6 SCALE
BUILD REPORT: SEMI-SCALE MIL MI24D “HIND” ON A 1:6 SCALE
After watching episode 18 of the show “Die Modellbauer,” I decided on the model by Matthias Strupf (owner of Heli-Classics).
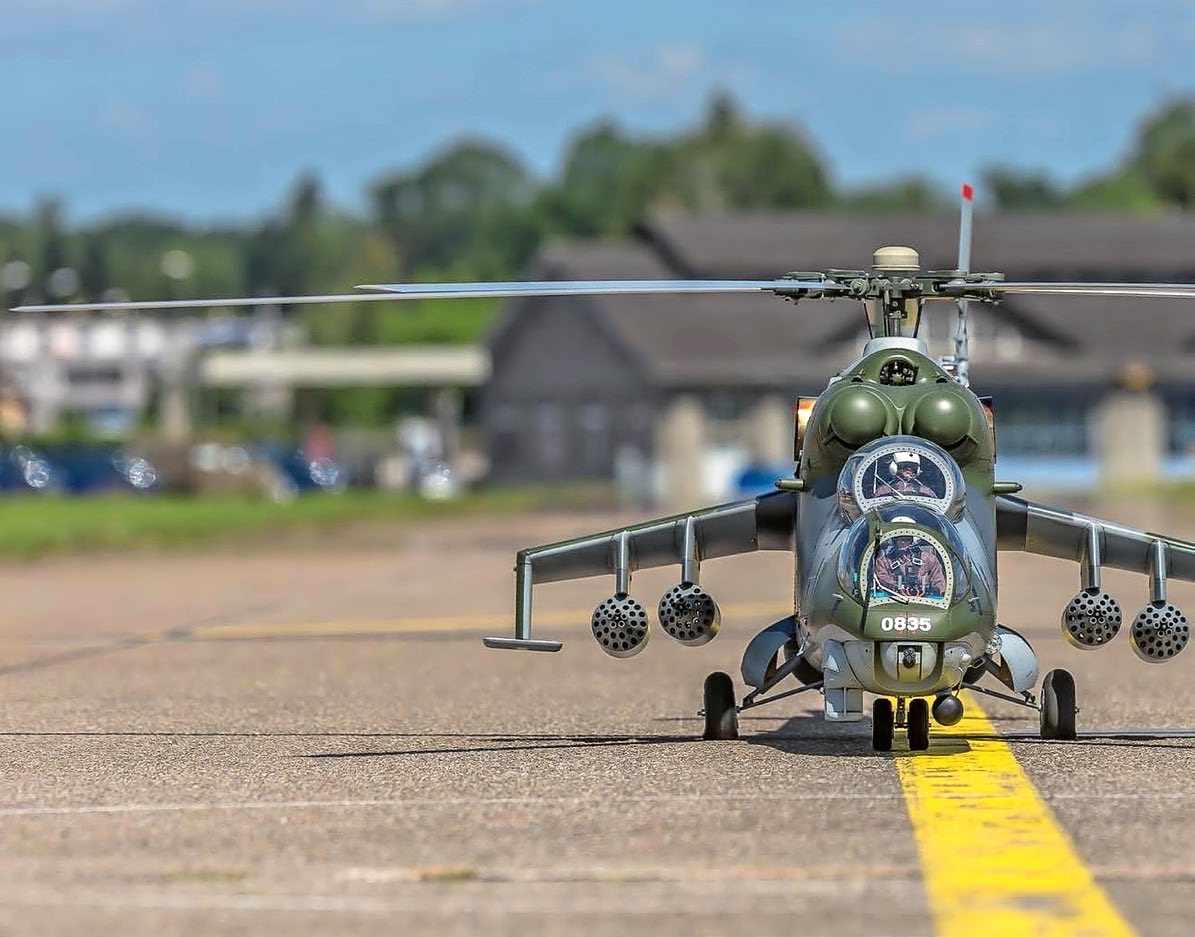
The Mil Mi-24D (NATO code name: Hind) was selected. A highly detailed, sturdy model with a spacious interior for the Pahl “Taurus 12” mechanism, including the “Pahl Taurus 12” twin-shaft turbines with an output of 12 kW.
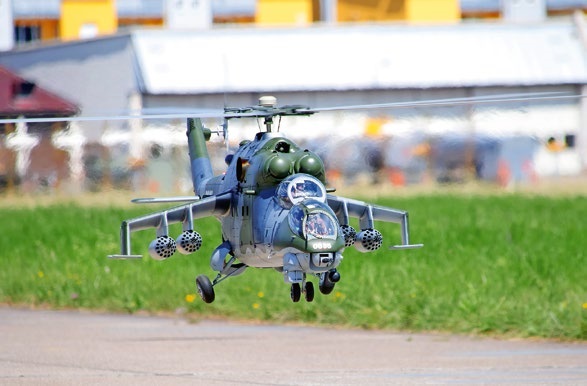
In the late 1960s, the Soviet Union began developing a heavily armed combat helicopter that could also transport troops—a combination of an attack and transport helicopter. The chief designer was Mikhail Leontyevich Mil, who had already achieved success with the Mi-8 and the Mi-17. The first Mi-24, known internally as “Product 245,” made its maiden flight in 1969.
After a few discussions with Matthias, I was able to purchase the kit in March 2015. The model was delivered in July 2015, and I was able to start building it.
Construction Phase 1, Fuselage: Since this was my first scale model, my strategy was to install and glue all the parts that had a specific position.
These included the landing gear with gear doors, weapon pylons, engine and radiator intakes, armor plating for the pilot, gunner, and key flight systems, as well as the controllable tail fin. Next came the left and right fuel tanks and the carbon-fiber tunnel for mounting the mechanical components.
Construction Phase 2, Mechanical Assembly: Next came the installation of the twin-shaft turbines into the mechanical assembly. Next came the installation of the drive shaft and the 5-blade rotor head. This was followed by the installation of the swashplate servos. Set the servos and rotor head to the zero position, then adjust and install the respective linkages.
Finally, the time has come. The first test fit on the carbon tunnel. Everything fits like a glove.
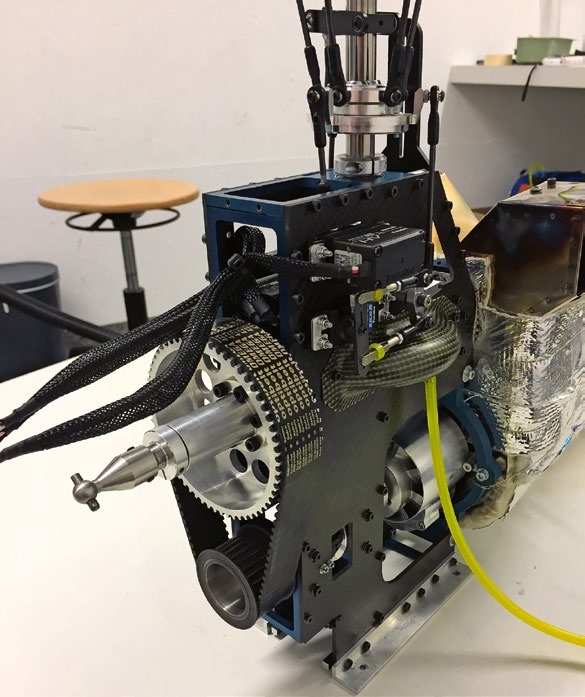
The next step was to find the best position for mounting the tail gearbox and the 3-blade tail rotor. Connect the tail drive shafts to the turbine mechanism, the bevel gearbox, and the tail rotor gearbox. Then the fine-tuning could begin.
Determine the position and secure it with 2K adhesive. This work requires patience and precision. It will have a massive impact on flight performance.
Once the work was done, I wanted to see the impressive Mil Mi-24 in all its glory.
Construction Phase 3, Components and Center of Gravity: The required location of the center of gravity is already determined. So I positioned all the components using tape. Anything heavy has to go in the nose; the rest needs to be easily accessible and logically positioned. After that, I hung the helicopter by the main rotor shaft in the attic. I was still half a kilo short. After measuring all the parts that were supposed to go into the scale cockpit, it quickly became clear that this would be a close call.
Construction Phase 4, Hoses and Cables: Securely install all components. Next, the hoses were connected to the fuel tank and turbine components. This was followed by the wiring of the electronics. Each cable was protected by braided sleeving and neatly routed through the fuselage. Finally, the lighting was wired.
Construction Phase 5, Basic Setup and First Flight: The basic setup for the Bavarian Demon 3X’s flybarless system was actually a simple matter. I sought advice from Hugo Markes (Modellsport) on this.
The turbine settings and control adjustments took more time. I gave Gerd a call, and he gave me a tip on the best way to handle it. All settings were made according to the manual and his advice.
The engine started up in propulsion mode and maintains a steady RPM of about 850.
After nearly two years of construction, the maiden flight took place on April 1, 2017. I had assembled and fueled the helicopter. Hugo Markes was kind enough to fly the helicopter for me. The maiden flight couldn’t have gone better. After 5 minutes of intense flying, Hugo landed successfully and said it felt great. That feeling when a project works—it’s indescribable.
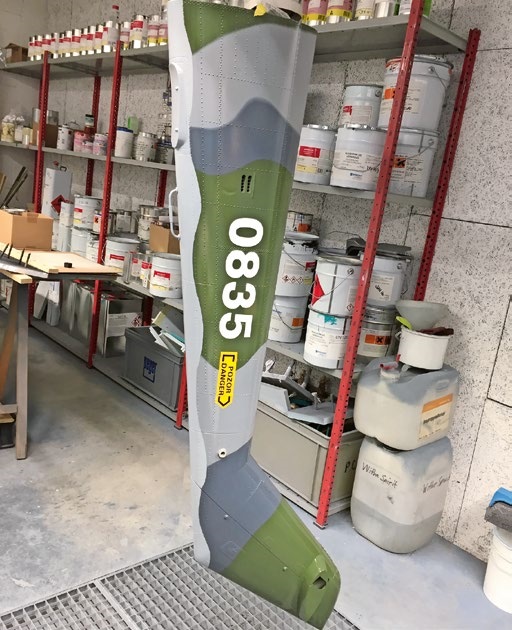
Construction Phase 6, 3D Parts, and Painting: I had completely underestimated the painting process. After doing some research, I decided to use the Czech locomotive with the number 0835 as my prototype.
From that point on, it was clear which parts I still needed to model in CAD. I’m using Autodesk Fusion 360 for this. I modeled X parts, printed them with a resin printer, and glued them together. No post-processing of the 3D-printed parts is necessary, as the print quality is high (0.02 mm).
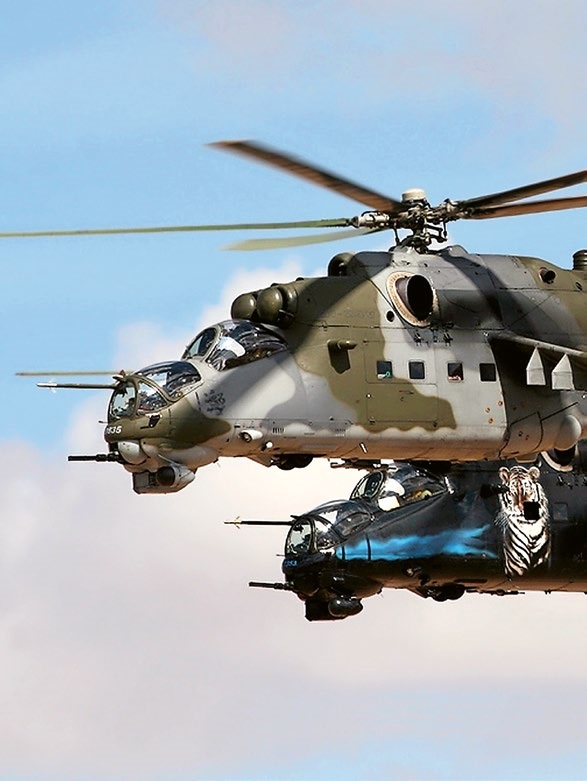
Finally, I tackled the last challenge: weathering the combat helicopter. I think a model should always look a little worn. That’s what gives it the finishing touch. I tried out various techniques here. In the end, I settled on classic oil paint. It takes a bit of practice and patience, but it’s worth it. Finally, I finished the model with a satin-matte varnish. I got tips and materials from Tailormadedecals. Without Rale’s support, the whole project would have failed.
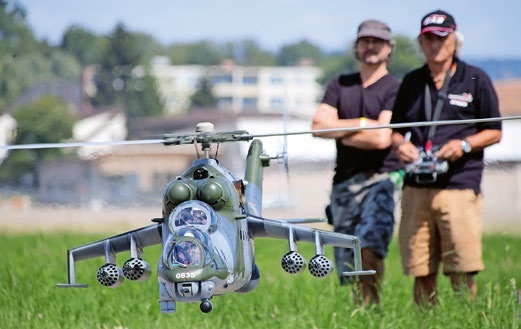
Building the Mil Mi 24 was a labor-intensive process, taking about 1,000 hours. But it was well worth the effort. I learned a lot during the years it took to build it. The result is a scale helicopter that’s impressive both visually and in terms of flight performance, and that can be flown safely even in windy conditions. Thanks to the scale cockpit and lighting, the model looks just like its real-life counterpart.
Photos: Michael Schneider, Martin Gerber
Manufacturer/Model | HeliClassics/Mi-24 |
Scale | 1:6.7 |
Length | 2.6 m |
Rotor diameter | 2.50 m |
Drive | PahlPower twin-shaft turbines “Pahl Taurus 12” |
ECU | evo Jet Jetronic Vx |
Mechanics | PahlPower Taurus 12 |
Tank system | FRP 2 × 1.3L and a 330 ml hopper tank |
Flybarless system | Bavarian Demon 3X |
5-blade rotor head | HeliClassics |
Rotor blades | 5 blades, S75 x 1100 mm, by M-Blades |
Tail rotor | 3-Blade Tail Rotor by M-Copter |
Servos | 3 x Futaba BLS 175, tail servo, fin servo, landing gear servos, landing gear door servo |
Weight (ready to fly) | approx. 25 kg |
Special features | Retractable landing gear, scale cockpit, armor for the pilot and gunner, and key aircraft systems featuring various 3D-printed resin parts |
Read the full article
Sign up or log in to read the full article.


News from HEBU

TEAM MANAGER "THIS" BOSSHARD
 Rodito Nussbaumer

YOU KNOW WHAT I MEAN? 125 YEARS OF THE SWISS AERO CLUB
 Emil Giezendanner

PRIDE AND GOOD IDEAS
 Markus Nussbaumer

ATOM, THE NEW DOUBLE-DECKER FROM CPLR
 Matthias Bosshard

SUMMER FUN 2026 AT MG USTER
Martin Wunderli
F3A EUROPEAN CHAMPIONSHIPS IN ST-MACAIRE, FRANCE
Matthias Bosshard
52. 2026 ALPS CUP
Emil Giezendanner
HORIZON HOBBY/LEMACO NEWS: MICRO OV-10 BRONCO 645 MM BY E-FLITE

TWIN TOWN PARTNERSHIP
Wolfgang Voeller
CORSAIR F4U – A WARBIRD WITH A MEMORABLE LOOK
Jürgen Rosenberger, Jürgen Prinz
TRY-OUT DAY AT MFV WETTINGEN
Urs Keller
EURO CONTEST GLIDER ACRO TOUR AUSTRIA 2026

BY YOUTH, FOR YOUTH
Lorena Betschen
INSIGHTS INTO THE HISTORY OF SEAPLANES

SMALL, MODEL-LIKE SAILBOATS
Res Dauwalder
What's New at Leomotion.com

COUPE DES ALPES – OBSERVE AND LEARN
Rodito Nussbaumer
34th HAHNENMOOS ALPINE MODEL AIRPLANE CAMP
Res Dauwalder
WELCOME, NEW MEMBER!
Andrea Bolliger
FREE FLIGHT IN THE MIDDLE OF SUMMER
Urs Muntwyler
THE PC-21 STORY
Emil Giezendanner
NEWS FROM HEBU
 Julia Bucher

FROM 0 TO 100
Markus Nussbaumer
MEMORIES
Wolfgang Völler
NOS REGION – A HUB FOR ELECTRIC AVIATION
Emil Giezendanner
Have you almost forgotten about aircraft that take off and land vertically?
Emil Giezendanner
DO YOU KNOW WHAT I MEAN IN THE LAND OF SMILES?
Emil Giezendanner