
We're building an indoor model airplane
I’d like to briefly remind you that last year a Swiss team competed in the World Championships in Lakehurst, USA. Their success was modest; after all, every beginning is difficult, even in this category.
Since there is little experience in this field in Switzerland, I will attempt to provide a detailed description of the construction process here.
Ryszard Czechowski of Poland, the 1974 world champion, kindly provided me with the plans for his model for publication.
Selecting balsa wood. Very important: choose the lightest boards possible, but not too spongy, 1 mm thick. Mirrored cut. In the U.S., special balsa wood is available under the names “Micro-Dyne” or “Micro-X.” All indoor model airplane builders I know use this grade.
Gluing. There are several gluing options: 1. Tension varnish, applied with a pin. 2. Thinned white glue (e.g., Uhu-Colle), applied with a thinly cut balsa stick. 3. Special Micro-X glue, filled into a medical syringe (no plastic syringes)—screw cap over the needle. Glue applications can be precisely controlled using this last method. Needle diameter: approx. 0.8 mm.
Strip cutter. You can make this yourself. A base plate measuring approx. 30 x 40 mm made of 4 mm plywood. A razor blade is clamped at an angle using two wing screws. Aluminum plates of a thickness corresponding to the strips to be cut are clamped between the razor blade and the plywood plate. The entire assembly can now be easily guided along the edge of the board.
Weighing objects. You don’t need a chemical balance for this. We can easily make our own scale. At a pharmacy, have a piece of 0.8 mm steel wire weighed out to exactly 1 gram (don’t forget the pliers); the length should be about 26 cm. Cut the weighed wire in half, and then divide one half into exactly 5 equal pieces. Each piece now weighs exactly 1/10 g. Use a 4-mm-thick plywood board as the base, from which you’ll cut out the specified shape. A wooden block with a recessed slot for the base board serves as the stand. A 0.3 mm steel wire is bent as shown in the photo and glued into the base board with Araldite. Now
we can begin marking the scale. The scale is by no means symmetrical (due to the wire’s pre-tension), so we must place one weight after another on the holder, gently insert a needle when each one comes to a stop, and draw a cross mark. Once this is done, we can weigh out 1/10 g of 0.1 mm Ø steel wire using our own scale and cut half of it into 5 equal parts, allowing us to mark off 1/100 g as well. As a rule, you should build two scales: one for 0.01–approx. 0.6 g and one for 0–2.5 g. Weigh long pieces vertically and without applying tension. Record all weights.
Microfilm (coating). There are various mixtures; here I’ll highlight a tried-and-true one. 83% nitrocellulose lacquer C-1106, 15% amyl acetate, 2% eucalyptus oil, and 5 drops of castor oil per 200 g. All ingredients are available at pharmacies when you specify the intended use. Let the mixture age for 3 days so that it becomes compact. After making the film, let it dry for about 3 weeks in a dust-free place. The film’s color should ideally be blue to blue-green or red. Gold-colored films are lighter, but they lack sufficient strength (thicker films are better for transport).
Rubber. The entire success “depends” on the rubber. Test the quality for elasticity and torque. The best test is to fully wind the rubber in a frame with the same hook spacing as the model. Full tension is only achieved on the fifth or sixth attempt—wind it only once a day!
Example: With a rubber cross-section of 2 mm² and a rubber loop of 380 mm, the goal is to achieve 2,000 revolutions. Increment: 1,700 – 1,800 – 1,850 – 1,900 – 1,950 – 2,000; let it remain under tension for 5 minutes after each increment. The best rubber currently available is Pirelli, cut into strands of 1 x 1 mm; that is, depending on the model’s weight, you can also cut strands of 1 x 1.2, 1 x 1.4, or 1 x 1.6 mm. Anyone who needs to cut rubber should contact Hans Reifler in Affoltern. Anyone wishing to purchase a rubber-cutting machine (approx. 150 Swiss francs) should write to Silvester Kujava in Poland.
A slightly faster method for treating rubber works as follows: Wash the rubber twice with shampoo, let it dry, and rub castor oil into it. Before takeoff, rev it up to 1000–1500–1700–1800, and for the flight, to the theoretical maximum RPM. Do all of this with the model removed.
A detailed build guide, along with precise drawings, tips for break-in, etc., will follow in the next issue of MFS 1/76.
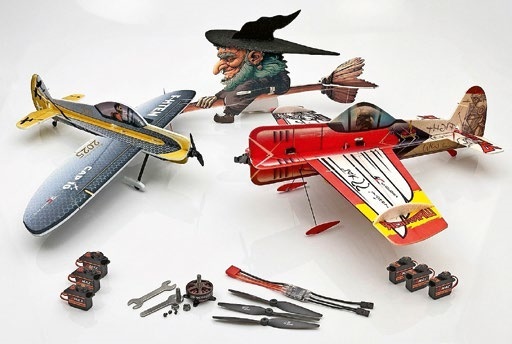
News from HEBU
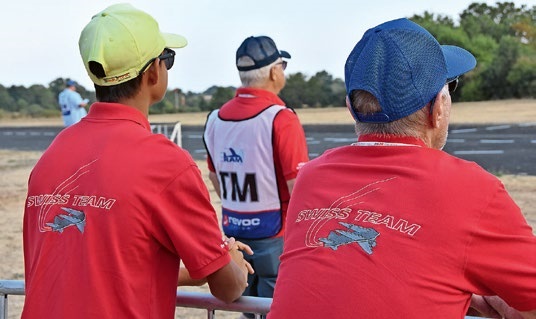
TEAM MANAGER "THIS" BOSSHARD
 Rodito Nussbaumer
YOU KNOW WHAT I MEAN? 125 YEARS OF THE SWISS AERO CLUB
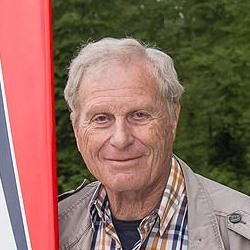 Emil Giezendanner
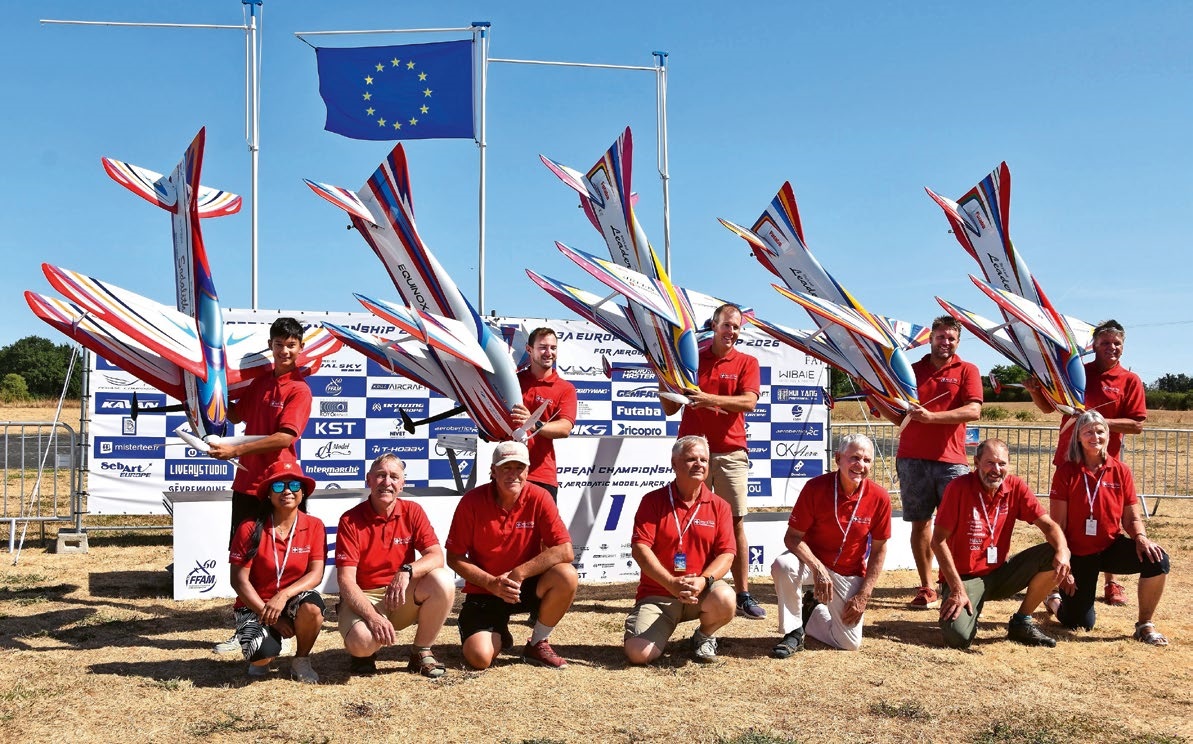
F3A EUROPEAN CHAMPIONSHIPS IN ST-MACAIRE, FRANCE
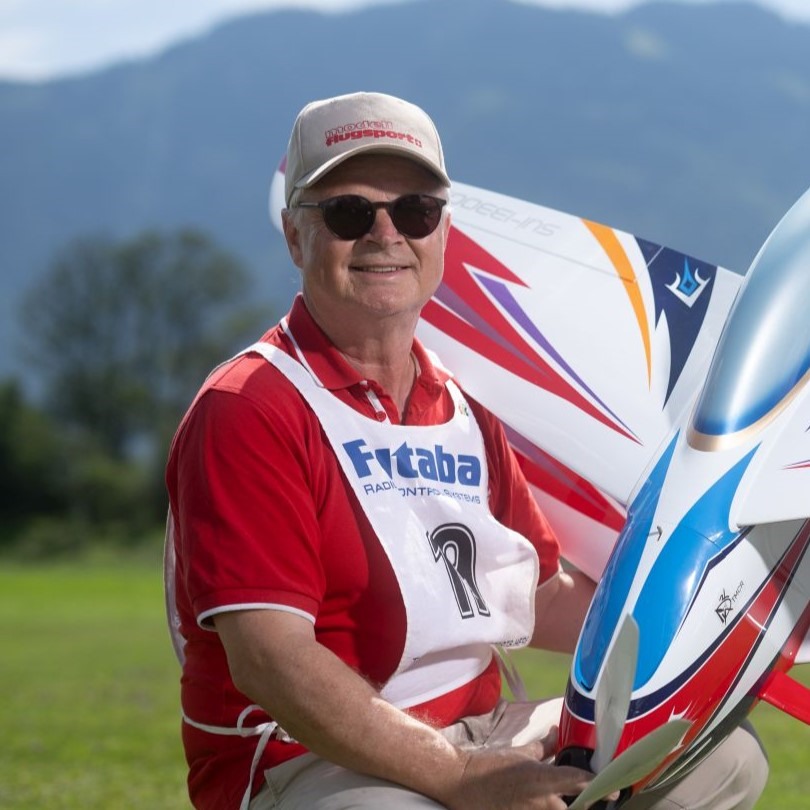 Matthias Bosshard
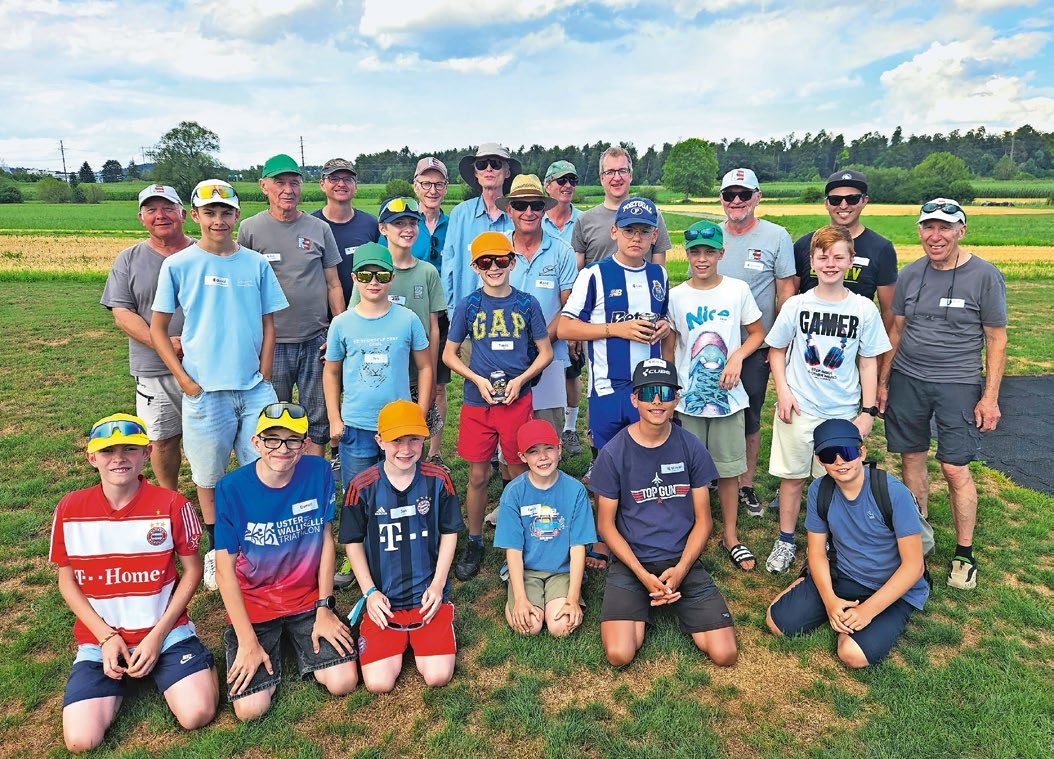
SUMMER FUN 2026 AT MG USTER
Martin Wunderli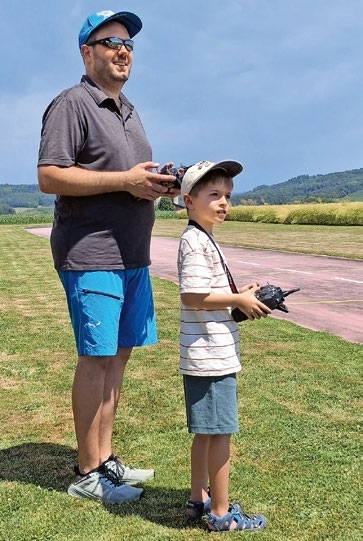
TRY-OUT DAY AT MFV WETTINGEN
Urs Keller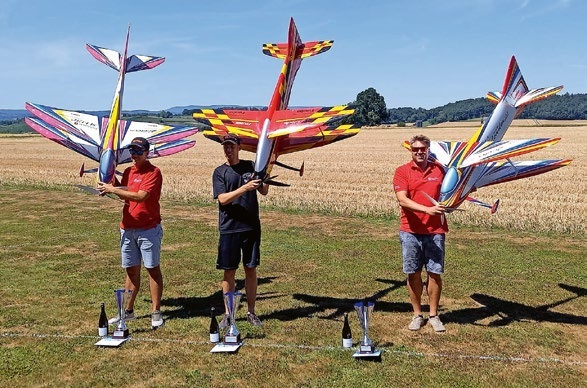
52. 2026 ALPS CUP
Emil Giezendanner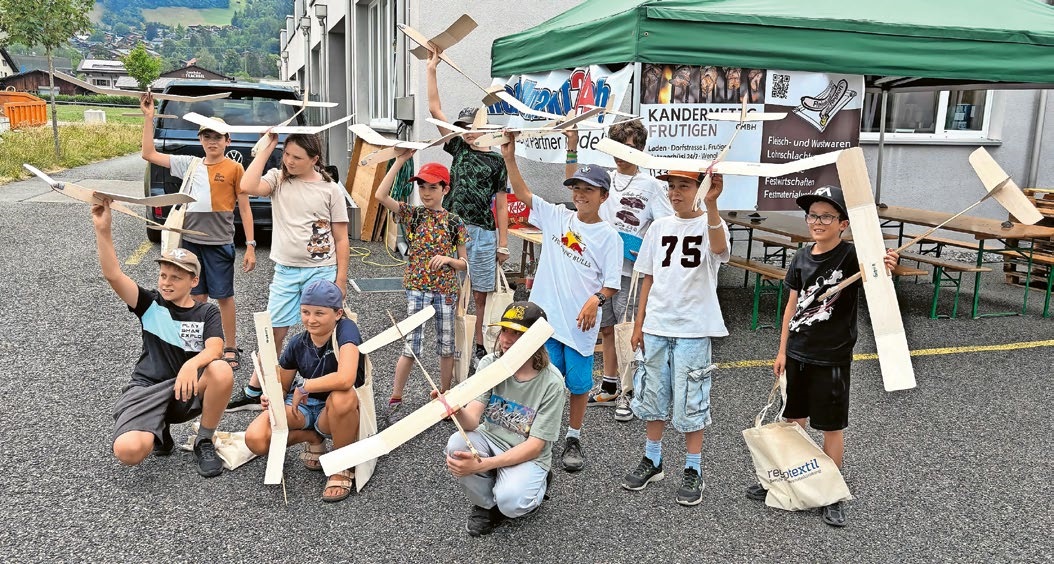
BY YOUTH, FOR YOUTH
Lorena Betschen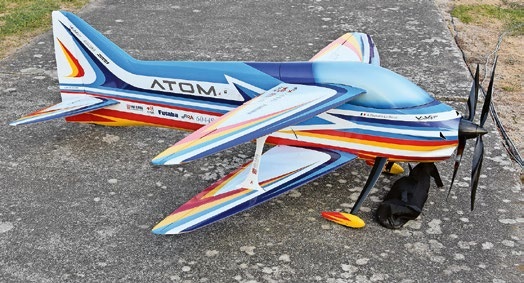
ATOM, THE NEW DOUBLE-DECKER FROM CPLR
Matthias Bosshard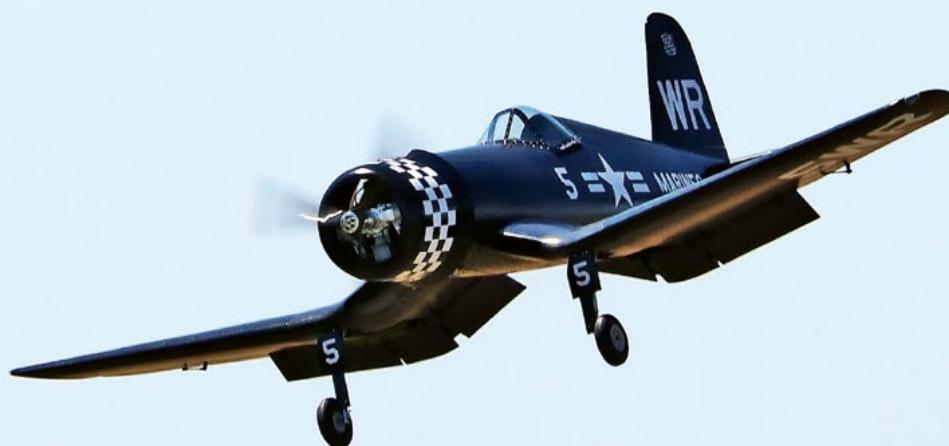
CORSAIR F4U – A WARBIRD WITH A MEMORABLE LOOK
Jürgen Rosenberger, Jürgen Prinz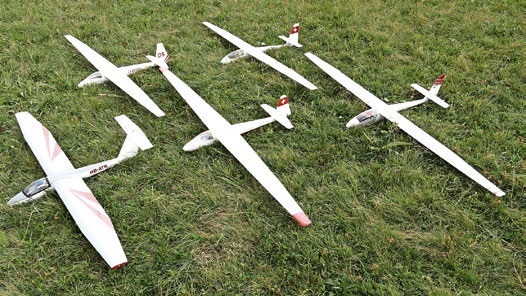
SMALL, MODEL-LIKE SAILBOATS
Res Dauwalder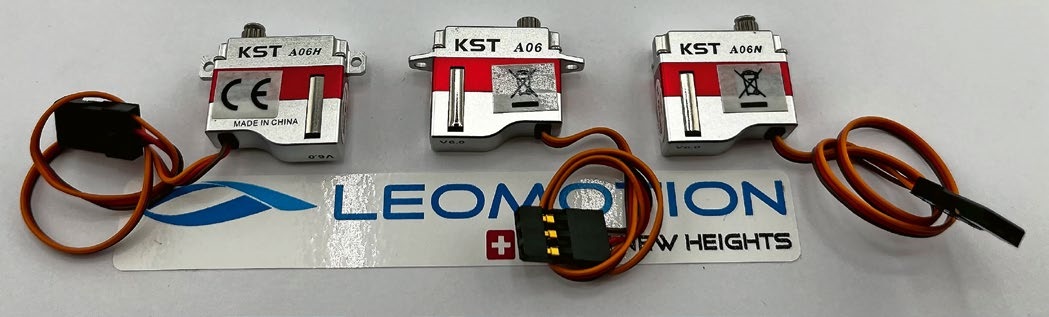
What's New at Leomotion.com
TWIN TOWN PARTNERSHIP
Wolfgang Voeller
EURO CONTEST GLIDER ACRO TOUR AUSTRIA 2026
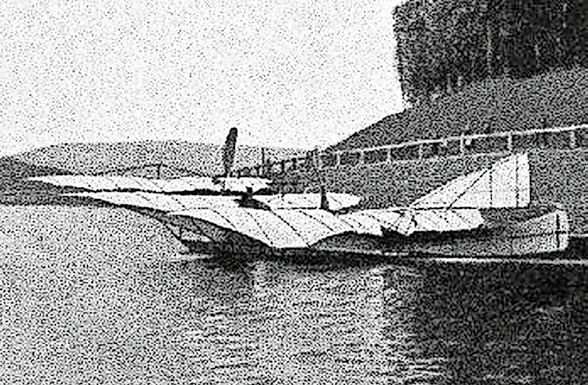
INSIGHTS INTO THE HISTORY OF SEAPLANES
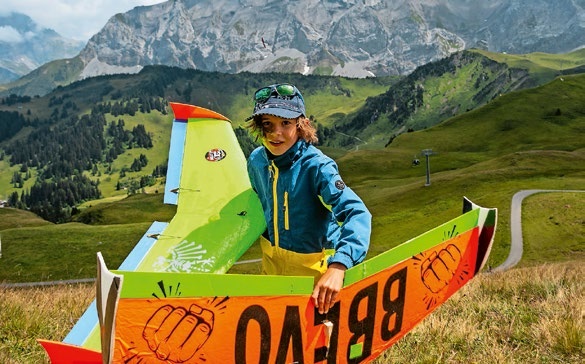
34th HAHNENMOOS ALPINE MODEL AIRPLANE CAMP
Res Dauwalder
WELCOME, NEW MEMBER!
Andrea Bolliger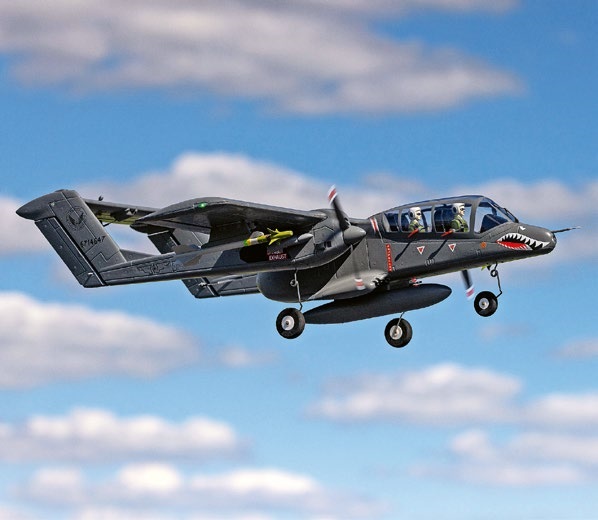
HORIZON HOBBY/LEMACO NEWS: MICRO OV-10 BRONCO 645 MM BY E-FLITE
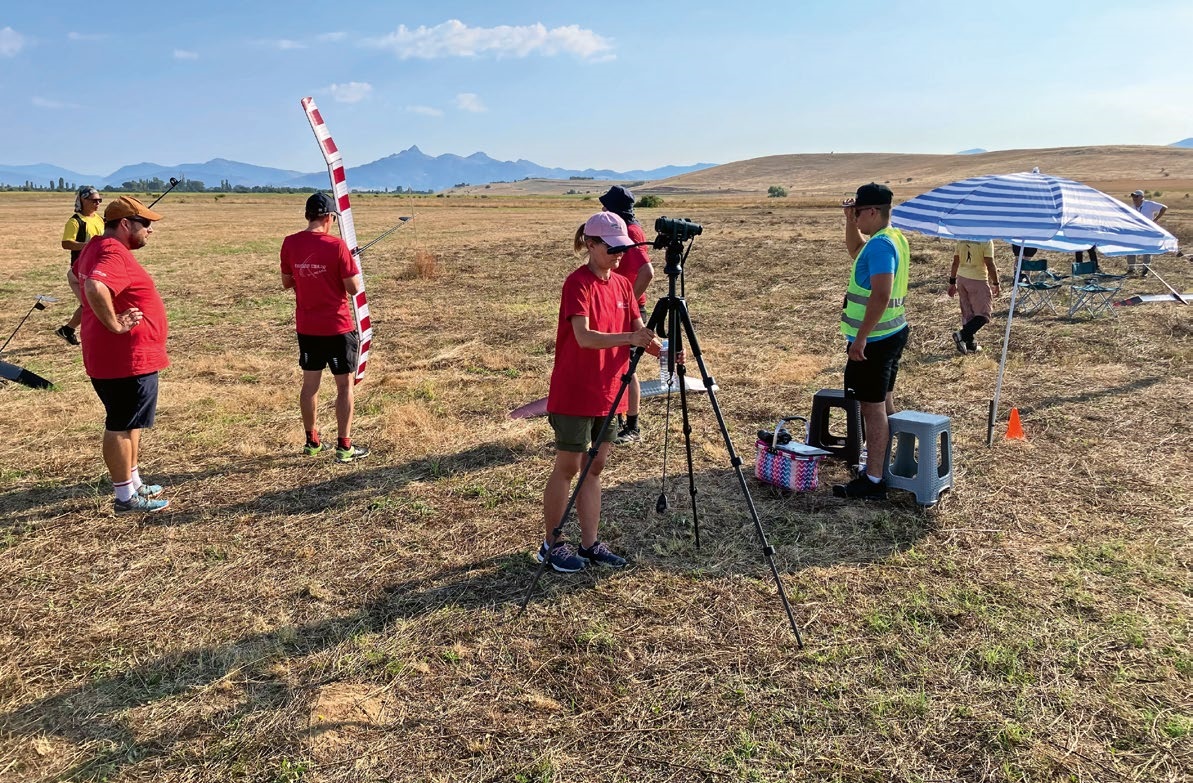
FREE FLIGHT IN THE MIDDLE OF SUMMER
Urs Muntwyler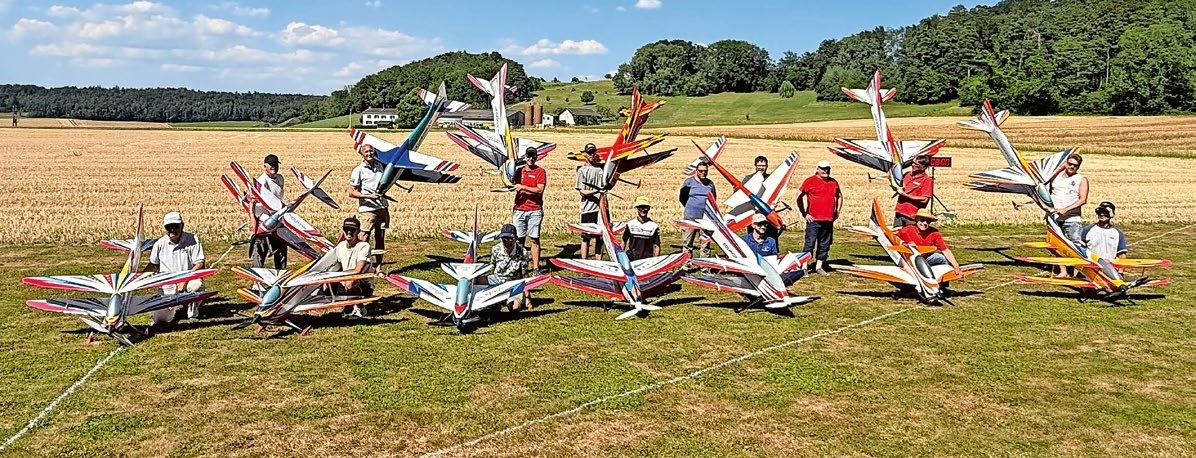
COUPE DES ALPES – OBSERVE AND LEARN
Rodito Nussbaumer
PRIDE AND GOOD IDEAS
 Markus Nussbaumer
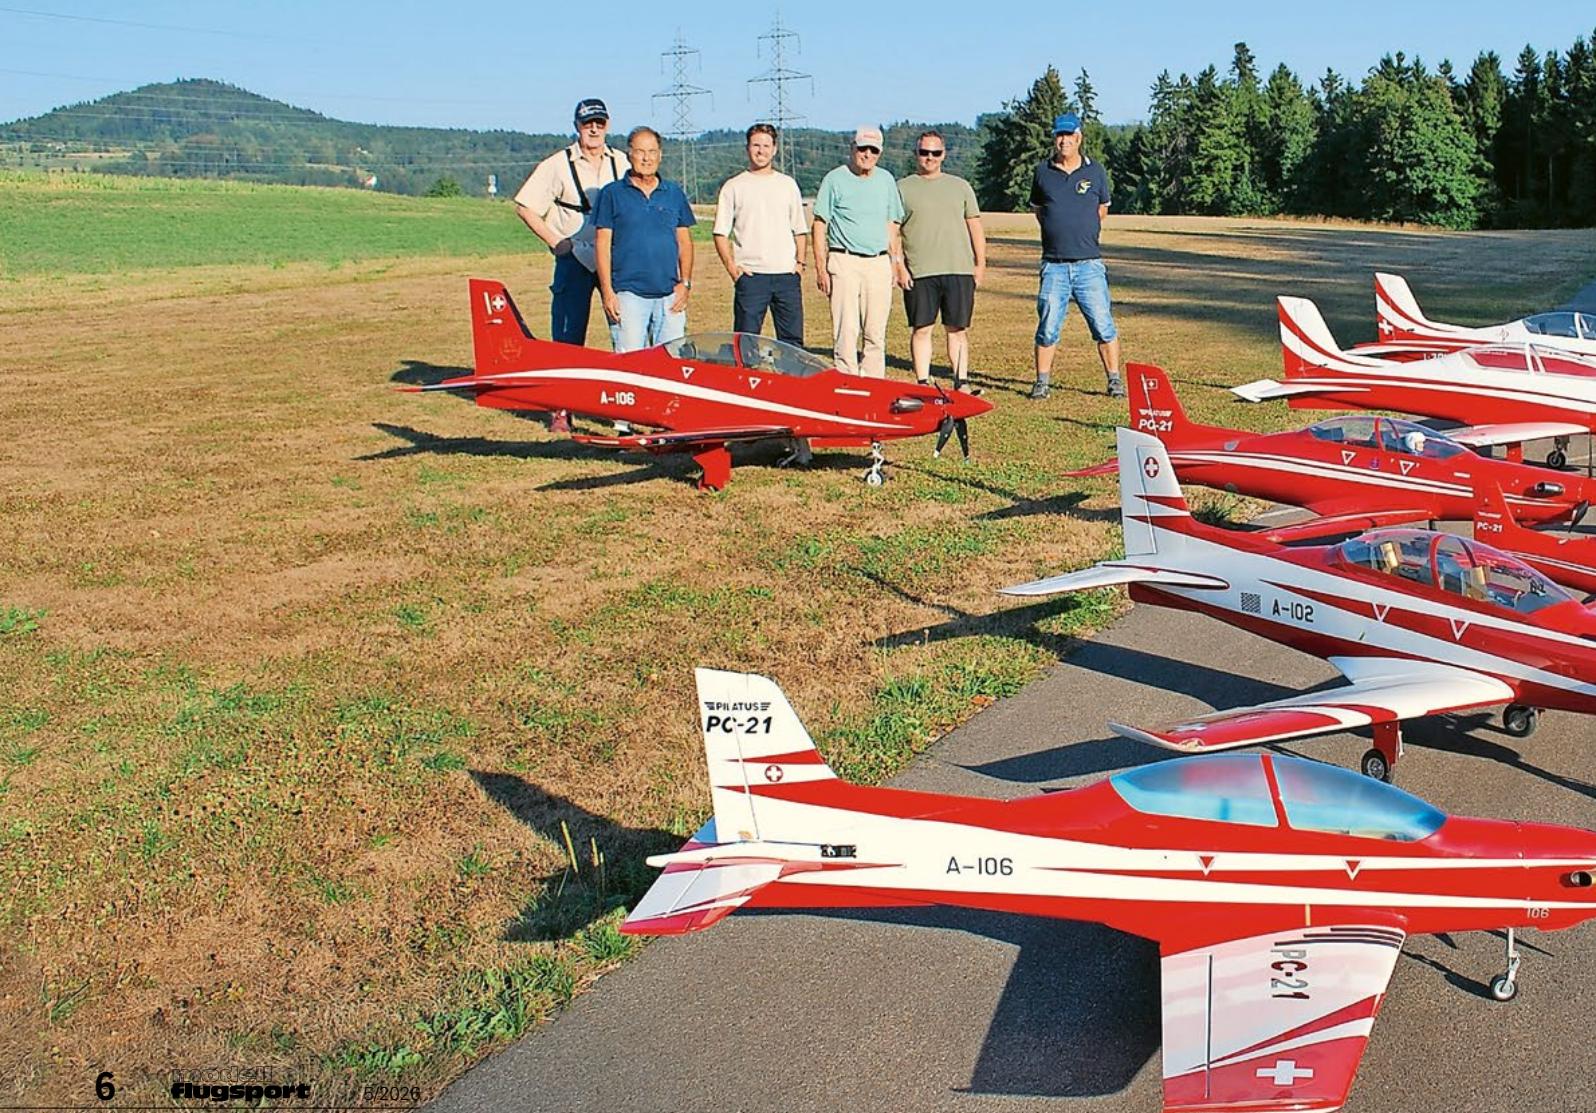
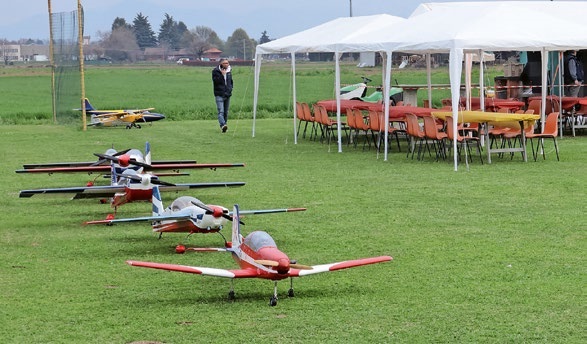
THE PC-21 STORY
Emil Giezendanner
NEWS FROM HEBU
 Julia Bucher
FROM 0 TO 100
Markus Nussbaumer
MEMORIES
Wolfgang Völler
NOS REGION – A HUB FOR ELECTRIC AVIATION
Emil Giezendanner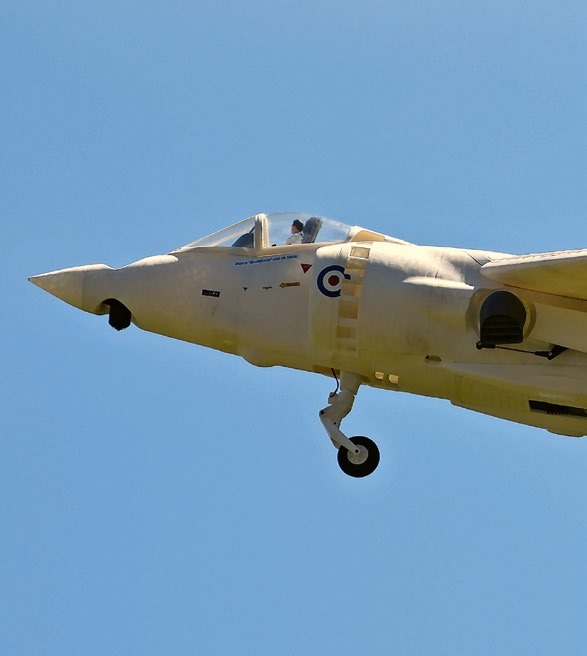
Have you almost forgotten about aircraft that take off and land vertically?
Emil Giezendanner
DO YOU KNOW WHAT I MEAN IN THE LAND OF SMILES?
Emil Giezendanner