
Repair of a Molded Composite Fuselage
Sooner or later, our passion inevitably brings us back—somewhat abruptly—to planet Earth! It’s undoubtedly this uniqueness that brings us together in model aviation: the third dimension, that freedom to explore that sometimes causes us so much trouble.
As a builder at heart, I’d like to use these few lines to share some tips on repairing a composite fuselage.
This technique is certainly not the only or best one, but it has the advantage of being quick and yielding an acceptable result. In short, here’s an example that I hope will help you make the transition from consumer to repairer!
Let's take a Rafale, with a takeoff weight of 7 kg: following an engine failure after takeoff, the plane came right back down to Earth. The first flight was, for a moment, also the last! Sniff. After the initial shock, reflection, and assessment of the damage! The number of pieces isn’t the deciding factor; the key criterion for a repair will be access to the damaged area. In fact, the repair will be done on both sides: the exterior to restore its appearance and the interior to rebuild a rigid airframe. However, for hard-to-reach areas—such as the tail boom of a glider—the technique will be different. Let’s get back to our patient.
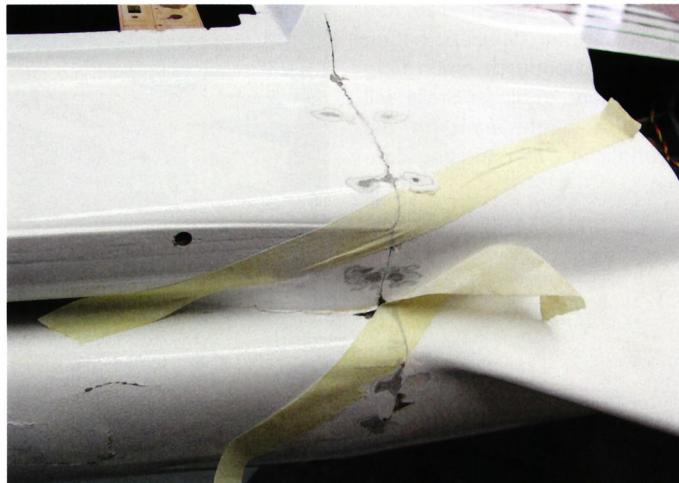
I start by aligning the torn pieces; since the position is determined by the tear, I still need to make sure they’re aligned—a drop of cyanoacrylate locks the position in place.
Next, all the parts will be sanded from the inside and worked on, so I make sure the parts stay together by creating a “bridge” using a small piece of wood glued with fast-curing epoxy. You can sand without worrying that the alignment will come apart!
Make sure to collect all the pieces at the crash site—not only for environmental reasons but also for simplicity’s sake! If, however, a segment is missing, here’s a simple and effective solution.
For more complex parts, this technique is only partially applicable—or even unusable. In such cases, a lost-wax mold or a separate construction will allow you to recreate the missing section.
Now that the entire aircraft has regained its shape, we’ll rebuild the rigid airframe. To do this, it’s essential to sand the area adjacent to a tear from the inside. I use a “Dremel” for this, sanding generously 20 mm to the right and left of the tear to remove traces of grease and paint and roughen the surface for good adhesive bonding.
The repair itself is done with epoxy resin and pieces of fiberglass cut to size as needed.
Once all the tears have been bonded and the missing sections on the inside have been filled, allow (without standing nearby, of course) sufficient time for curing.
Now let’s move on to the exterior. The goal is to restore the finish as best as possible—let’s be realistic: while achieving a factory-fresh look will be difficult, we’ve just saved a jet from the scrap heap! I remove the “bridges” and sand the affected areas thoroughly—that’s when the first smiles return because the silhouette is clearly there. Personally, I sand with a power sander; the random-orbit sander seems unsuitable due to its size, but it works well
Cut out a piece of acetate—a plastic sheet that is both rigid and flexible—to best replicate the shape of the missing area. Attach the sheet with double-sided tape as close to the edge as possible. It goes without saying that for
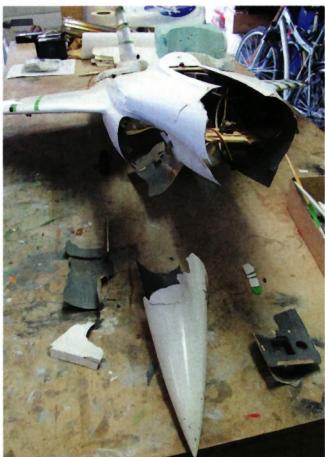
This makes the process easier and saves time! To fill in the gaps and create a bonding surface, I apply a non-runny mixture of epoxy resin and thickening agent to the exterior. The large putty knife helps smooth out the entire surface.
The rest of the process is similar to a traditional fiberglass finish: sanding, quick-drying filler, sanding, wet sanding, another coat of filler, wet sanding, and painting. To keep things simple, I only repainted the damaged area; of course, depending on the time you’re willing to invest and the desired finish, you can sand the entire plane and take the opportunity to change the paint scheme, but in this case, it was indeed a repair and not a renovation! ■
Martin Reichert
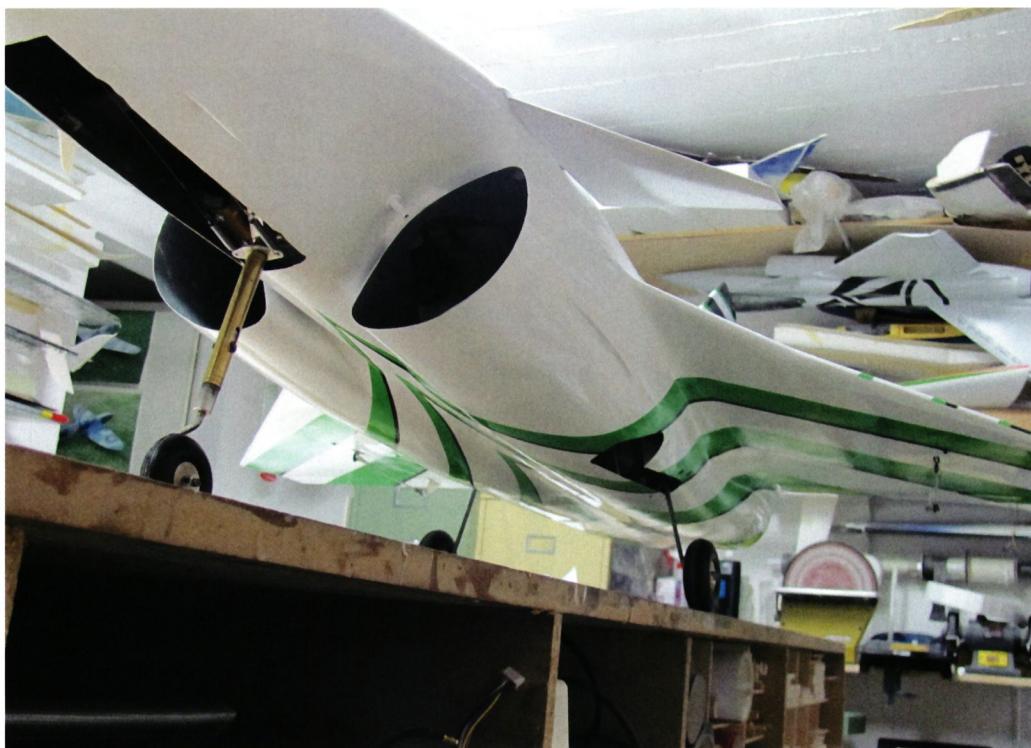


News from HEBU

TEAM MANAGER "THIS" BOSSHARD
 Rodito Nussbaumer

YOU KNOW WHAT I MEAN? 125 YEARS OF THE SWISS AERO CLUB
 Emil Giezendanner

HORIZON HOBBY/LEMACO NEWS: MICRO OV-10 BRONCO 645 MM BY E-FLITE

PRIDE AND GOOD IDEAS
 Markus Nussbaumer

34th HAHNENMOOS ALPINE MODEL AIRPLANE CAMP
Res Dauwalder
TRY-OUT DAY AT MFV WETTINGEN
Urs Keller
F3A EUROPEAN CHAMPIONSHIPS IN ST-MACAIRE, FRANCE
 Matthias Bosshard

52. 2026 ALPS CUP
Emil Giezendanner
ATOM, THE NEW DOUBLE-DECKER FROM CPLR
Matthias Bosshard
SUMMER FUN 2026 AT MG USTER
Martin Wunderli
What's New at Leomotion.com

THE PC-21 STORY
Emil Giezendanner
COUPE DES ALPES – OBSERVE AND LEARN
Rodito Nussbaumer
TWIN TOWN PARTNERSHIP
Wolfgang Voeller
EURO CONTEST GLIDER ACRO TOUR AUSTRIA 2026

BY YOUTH, FOR YOUTH
Lorena Betschen
CORSAIR F4U – A WARBIRD WITH A MEMORABLE LOOK
Jürgen Rosenberger, Jürgen Prinz
SMALL, MODEL-LIKE SAILBOATS
Res Dauwalder
WELCOME, NEW MEMBER!
Andrea Bolliger
FREE FLIGHT IN THE MIDDLE OF SUMMER
Urs Muntwyler
INSIGHTS INTO THE HISTORY OF SEAPLANES

NEWS FROM HEBU
 Julia Bucher

FROM 0 TO 100
Markus Nussbaumer
MEMORIES
Wolfgang Völler
NOS REGION – A HUB FOR ELECTRIC AVIATION
Emil Giezendanner
DO YOU KNOW WHAT I MEAN IN THE LAND OF SMILES?
Emil Giezendanner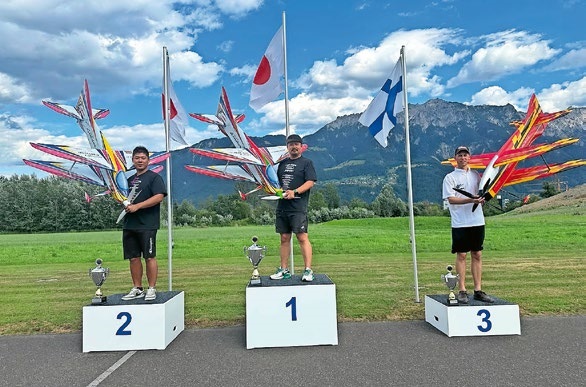
A SPECTACULAR F3A WORLD CUP IN THE PRINCIPALITY OF LIECHTENSTEIN
Emil Giezendanner