
A Fata Morgana (Mirage) Straight from the Printer
About two years ago, I decided to build a 3D-printed impeller jet from scratch. I’ve always liked the F-5 Tiger. So I sat down at the CAD program and began drawing the first lines. The basic shape—a solid 3D model—was modeled relatively quickly. At the same time, I printed the first test parts to figure out how many reinforcements would be needed in the fuselage and wings. It turned out that the entire structure would end up being rather heavy. This made me increasingly skeptical about whether the F-5 Tiger was really the ideal model for my project. I was very concerned that the model would behave erratically during takeoff and landing. Since the runway length in Riggisberg is limited, I prefer models with docile takeoff and landing characteristics. I therefore decided to put the Tiger project on hold and start with a Mirage III instead.
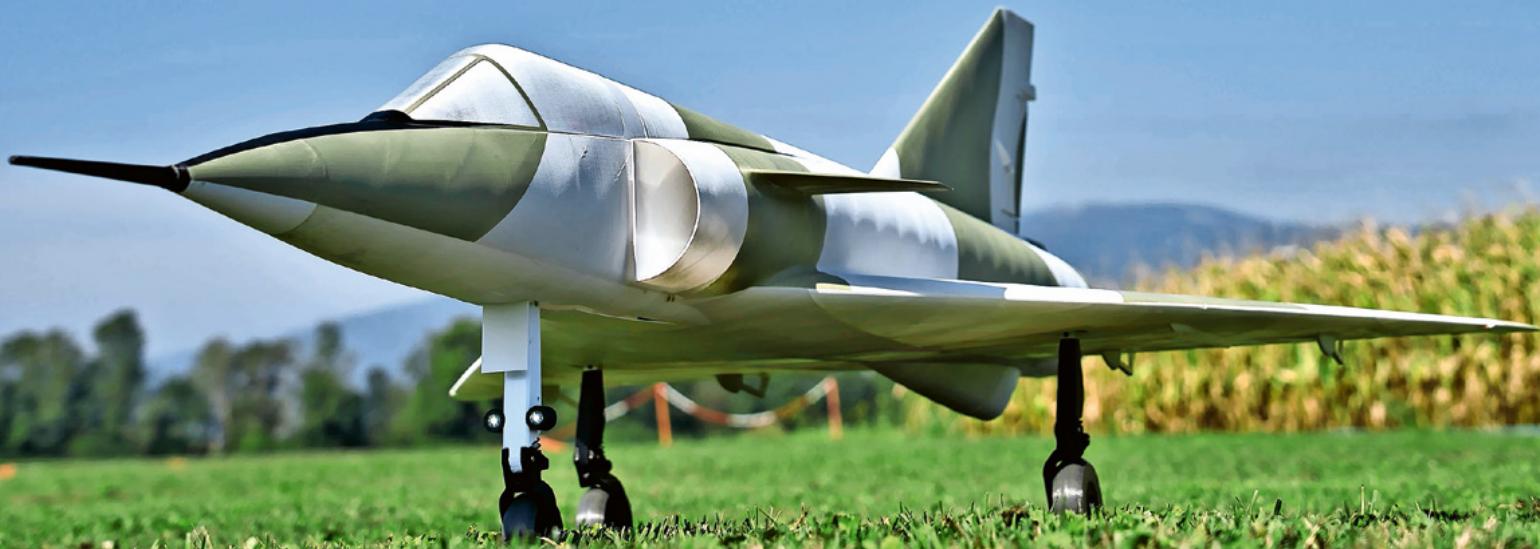
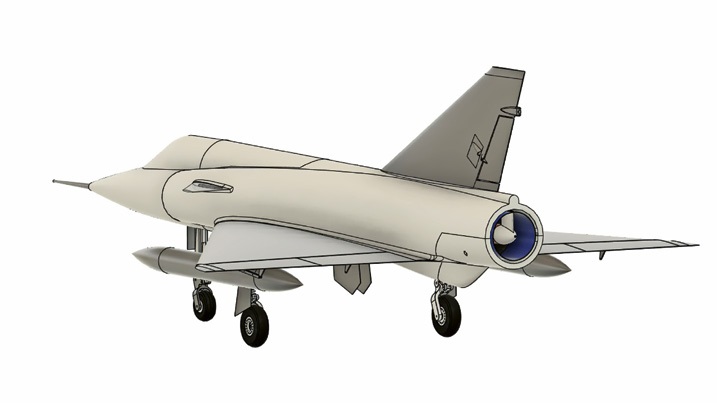
I used a 3-view drawing as a template for the shape, which I scaled to the actual model size in CAD. The basic process for the design can be described roughly as follows: First, a solid model is created with all the cutouts for the air duct, battery compartment, servo recesses, connectors, etc. Next, the solid model is “hollowed out.” This generates the actual wall thickness of the outer shell. Then it’s time for the “interior construction” with reinforcements, ribs, and the base, so that the individual parts will fit on the 3D printer. As simple as it sounds, this work was actually very labor-intensive. Especially when countless calculation errors start to pop up, you really need a lot of perseverance.
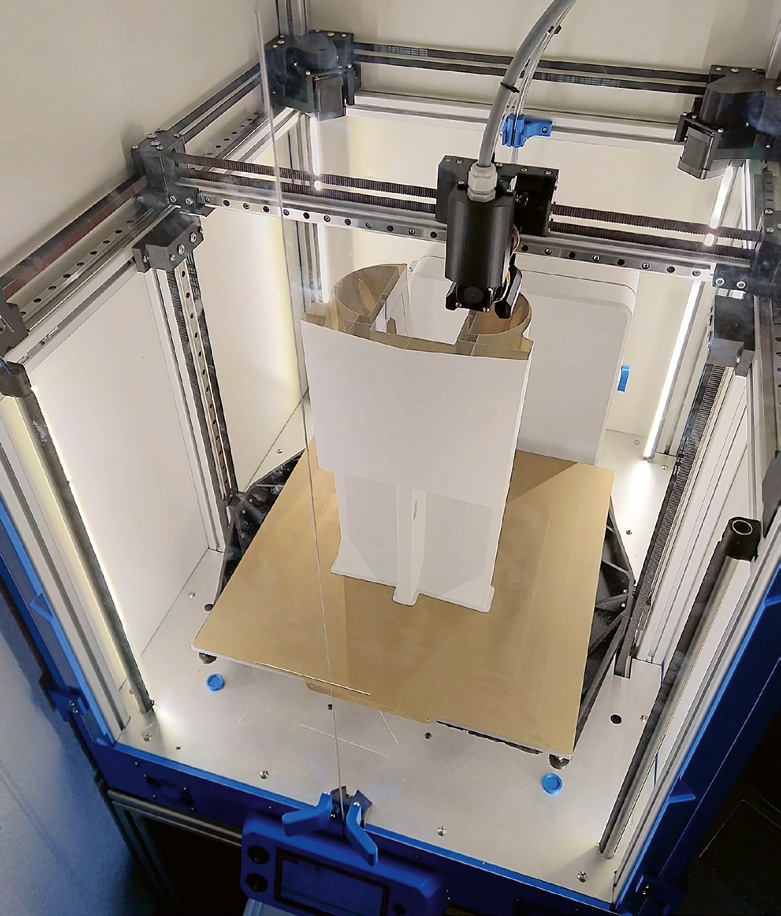
I printed the first prototype using PLA. The material is very inexpensive, easy to print
(minimal warping) and offers high rigidity. However, a significant drawback is its low softening temperature of approximately 55°. Caution is advised, especially in the summer. Dark colors on the model should be avoided. Printing all the parts took about 10 days on my homemade 3D printer. The machine has a build volume of 400 × 400 × 400 mm. Thanks to the CoreXY kinematics, which feature very little mass on the moving parts, high accelerations can be achieved, which has a positive effect on print time.
The individual parts can be quickly glued together using thick superglue. Thanks to the high precision of the fit, this is a real pleasure. Afterward, all components could be installed. For the powertrain, I’m using a Jet-Fan 90 V2 in combination with a Leopard LBP4082-B 2200-kv motor. The controller is well-rated at 150 A. Power is supplied by a 6S 5400-mAh 45C Swaytronic LiPo battery. The drive—
| Wingspan: | 1020 mm |
| Length: | 1,785 mm |
| Takeoff weight: | 4,250 g |
| Impeller: | JET Fan 90 V2 |
| Motor: | Leopard LBP4082-B-2200 kv |
| Controller: | YEP-150 |
| Retractable landing gear: | JP ER-005 |
| Shock absorber: | Custom-designed, 3D-printed |
The kit is from JP-Hobby. To control the rudder and the wing, I chose the KST HS08-A. For the landing gear doors, I chose the Emax ES3301. I ordered all the components from Hebu and Swaytronic.
The maiden flight was scheduled for March 2021. It came to an abrupt end after just a few seconds. Once I had built up enough speed, I pulled the Mirage off the runway. The fatal nosedive occurred immediately... Troubleshooting revealed a completely incorrect center of gravity,
, which my gut feeling had also confirmed. However, I trusted the center-of-gravity calculation tool, which in hindsight proved to be a mistake. Since the flight battery couldn’t be repositioned, over 500 g of weight had to be added to the tail for the next flight. Heavily overloaded, I proceeded to the next takeoff. Even as I accelerated, it became clear that takeoff would be a close call. And so it was: the Mirage took off but crashed again shortly afterward. I was probably too hesitant with the
pulling up with limited thrust... Nevertheless, those present at the field were of the opinion that the Mirage should be able to fly.
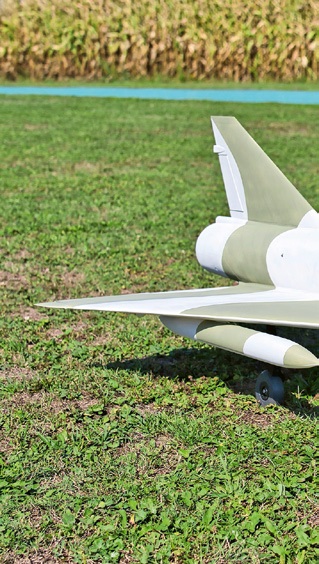
Now it was time to redesign the model in CAD again. The impeller and battery positions had to be revised. Countless hours went into the project, so it wasn’t until a year later that the optimized version was ready for flight testing. This version flew quite well right from the start, but it was still significantly top-heavy. Initially without canards, later—
For me, the Mirage project has been a success in many ways. My CAD skills improved significantly, especially in free-form surface modeling. I also learned a lot about aerodynamics and airfoils. Last but not least, I honed my understanding of Mach
in the field of FDM 3D printing. I wouldn’t want to be without my 3D printers for anything in the world—especially not when parts for the new model are being printed while I sleep. The next project is already in the works!
*Images: Michael Bucher, Ueli von Niederhäusern*


News from HEBU

TEAM MANAGER "THIS" BOSSHARD
 Rodito Nussbaumer

YOU KNOW WHAT I MEAN? 125 YEARS OF THE SWISS AERO CLUB
 Emil Giezendanner

HORIZON HOBBY/LEMACO NEWS: MICRO OV-10 BRONCO 645 MM BY E-FLITE

PRIDE AND GOOD IDEAS
 Markus Nussbaumer

TRY-OUT DAY AT MFV WETTINGEN
Urs Keller
F3A EUROPEAN CHAMPIONSHIPS IN ST-MACAIRE, FRANCE
 Matthias Bosshard

52. 2026 ALPS CUP
Emil Giezendanner
ATOM, THE NEW DOUBLE-DECKER FROM CPLR
Matthias Bosshard
SUMMER FUN 2026 AT MG USTER
Martin Wunderli
What's New at Leomotion.com

COUPE DES ALPES – OBSERVE AND LEARN
Rodito Nussbaumer
TWIN TOWN PARTNERSHIP
Wolfgang Voeller
34th HAHNENMOOS ALPINE MODEL AIRPLANE CAMP
Res Dauwalder
CORSAIR F4U – A WARBIRD WITH A MEMORABLE LOOK
Jürgen Rosenberger, Jürgen Prinz
SMALL, MODEL-LIKE SAILBOATS
Res Dauwalder
WELCOME, NEW MEMBER!
Andrea Bolliger
FREE FLIGHT IN THE MIDDLE OF SUMMER
Urs Muntwyler
EURO CONTEST GLIDER ACRO TOUR AUSTRIA 2026

BY YOUTH, FOR YOUTH
Lorena Betschen
INSIGHTS INTO THE HISTORY OF SEAPLANES

THE PC-21 STORY
Emil Giezendanner
NEWS FROM HEBU
 Julia Bucher

FROM 0 TO 100
Markus Nussbaumer
MEMORIES
Wolfgang Völler
NOS REGION – A HUB FOR ELECTRIC AVIATION
Emil Giezendanner
DO YOU KNOW WHAT I MEAN IN THE LAND OF SMILES?
Emil Giezendanner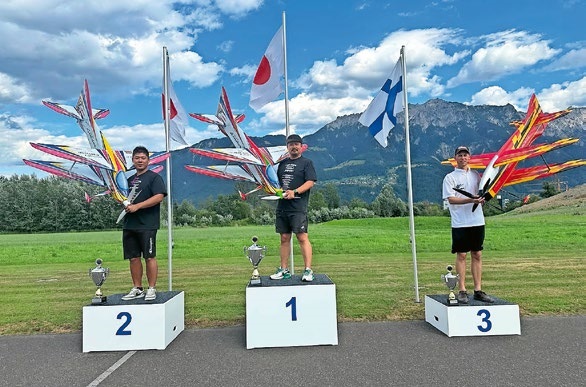
A SPECTACULAR F3A WORLD CUP IN THE PRINCIPALITY OF LIECHTENSTEIN
Emil Giezendanner